
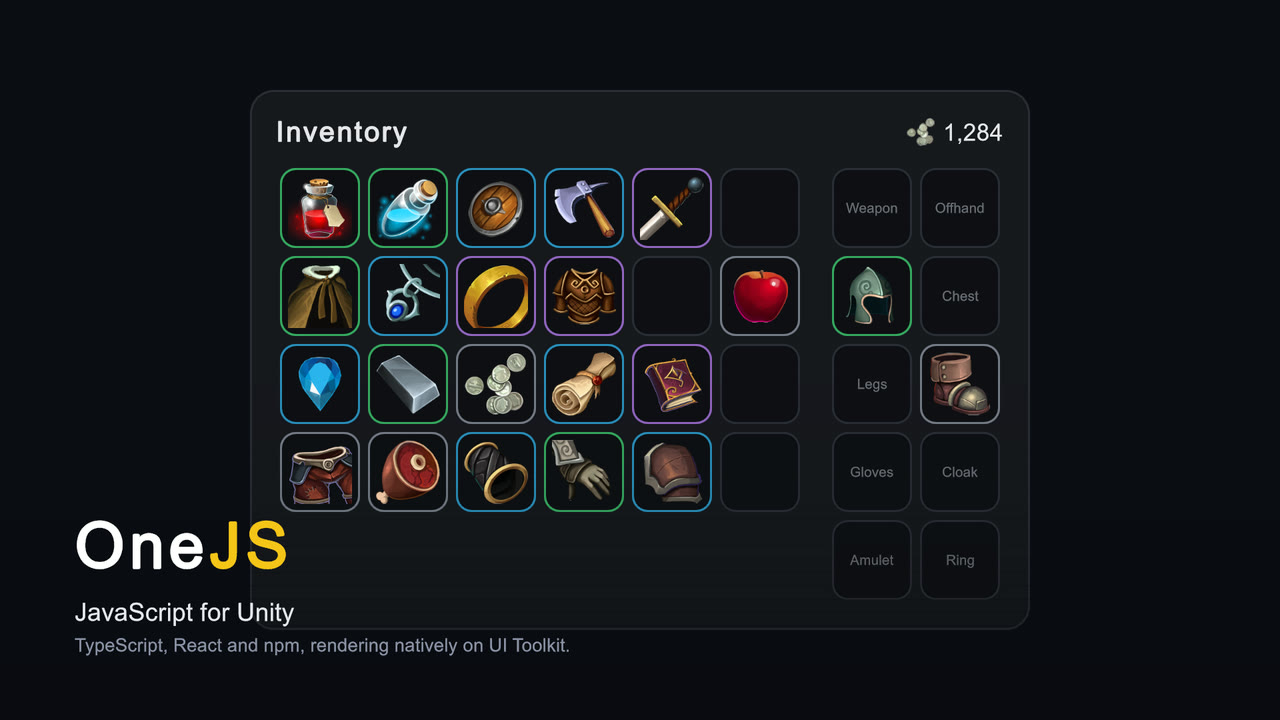
Build Unity UIs with React 19 and TypeScript, rendered natively through UI Toolkit. No browser, no webview.
import { useState } from "react"
import { render, View, Text, Button } from "onejs-react"
import "onejs:tailwind"

function App() {
    const [count, setCount] = useState(0)
    return (
        <View className="p-4">
            <Text text={`Count: ${count}`} className="text-lg" />
            <Button text="+1" onClick={() => setCount(c => c + 1)} />
        </View>
    )
}

render(<App />, __root)
Save the file and the UI hot-reloads in the editor, in both Edit mode and Play mode.
- React 19 + TypeScript with esbuild bundling and npm packages
- Hot reload that works without entering Play mode (edit-mode preview)
- One-click setup: add
JSRunner, click Initialize Project, start coding - Styling three ways: USS, CSS Modules, and a built-in Tailwind-style JIT generator (no npm dependency)
- Full C# interop: reach any C# type from JS, with zero-alloc fast paths for per-frame data
- Batteries included: 2D particles, GPU compute bridge, vector drawing,
fetch,WebSocket,localStorage - Runs everywhere: QuickJS on desktop and mobile; the browser's own JIT engine on WebGL
- Moddable games: players can extend your UI with TypeScript and JSX
- Unity 6.3+
- Node.js 18+ (development machine only).
ojplay runandojplay testneed Node 22+; on older Node,npm installwarnsEBADENGINEforojplayand otherwise works
Package Manager (recommended):
- Open Window > Package Management > Package Manager
- Click + > Install package from git URL...
- Enter:
https://github.com/Singtaa/OneJS.git
Use that URL with no branch suffix. onejs-v1, onejs-v2 and
archive/onejs-v3 are frozen historical branches; pinning one installs an old
runtime that still compiles, so nothing tells you it happened.
No editor to click in? Setting Up Without the Inspector, below, has the whole terminal recipe: https://onejs.com/docs/ai-setup
Manual:
git clone https://github.com/Singtaa/OneJS.git Assets/OneJSThe Asset Store package (linked from onejs.com) bundles this runtime with premade onejs-ui themes (Pixel, Kawaii, Sketch) and sample cartridges (Game HUD, Inventory, Shader Effects).
OneJS ships an AI Skill at AI/Skills/, teaching coding agents how to set up and
troubleshoot a OneJS project. Unity's AI Assistant discovers it automatically.
For Claude Code, Cursor, and other terminal agents, run Tools > OneJS > Install
AI Skills once: they only scan the project root, so the menu item copies the
skill into .claude/skills/. It never overwrites a skill you have edited.
Full recipe, including the Unity MCP server: https://onejs.com/docs/ai-setup
One call does what Initialize Project does, with no editor window. With Unity's CLI:
unity run <project> -- -nographics -executeMethod OneJS.Editor.ProjectSetup.InitializeWith any Unity install, call the editor binary directly:
<editor> -batchmode -nographics -quit -projectPath <project> -executeMethod OneJS.Editor.ProjectSetup.Initialize -logFile --quit is required, because without it the editor stays open after the call.
<editor> is the Unity binary, for example
/Applications/Unity/Hub/Editor/<version>/Unity.app/Contents/MacOS/Unity on
macOS or C:\Program Files\Unity\Hub\Editor\<version>\Editor\Unity.exe on
Windows. -logFile - sends the log to standard output, so the working
directory line reaches the terminal. Both forms exit 0 when the app is set up and non-zero when it
cannot be.
Then run npm install && npm run build in the ~/ folder it logs.
It sets up every JSRunner in the active scene. If the scene has none, it adds
one on a GameObject named App. A project with no saved scene gets
Assets/Scenes/Main.unity, so an empty project ends up with
Assets/Scenes/Main/App/~/. Calling it again is safe. From editor code, use
ProjectSetup.InitializeRunner(runner) for one runner; it returns the working
directory to build.
- Add the
JSRunnercomponent to a GameObject in a saved scene - Click Initialize Project in the inspector
JSRunner creates PanelSettings, scaffolds a starter React app next to your scene, runs npm install and npm run build, and starts rendering in the Game view immediately. The editor manages the esbuild watcher from there: save a file, see the change.
Assets/Scenes/Level1.unity            # Your scene
Assets/Scenes/Level1/App/             # App = the GameObject's name
├── ~/                                # TS/TSX source (~ = ignored by Unity)
│   ├── index.tsx                     # Entry point
│   ├── package.json, tsconfig.json, esbuild.config.mjs
│   └── styles/main.uss, types/global.d.ts, AGENTS.md, .gitignore
├── PanelSettings.asset               # Project marker, assigned to JSRunner
├── UIDocument.uxml
└── app.js.txt                        # Built bundle
// ES6 imports of C# namespaces (rewritten at build time)
import { GameObject, Vector3, Debug } from "UnityEngine"

Debug.Log("Hello from JS")
const go = new GameObject("MyObject")
go.transform.position = new Vector3(0, 1, 0)

// Or reach anything directly through the CS proxy
CS.MyGame.Bridge.Instance.StartWave(3)

// C# Tasks become JS Promises
const data = await CS.MyGame.Api.GetDataAsync()
For per-frame data, zero-alloc fast paths avoid reflection entirely: see the state sync and zero-alloc guides.
| Platform | JS Engine | Notes |
|---|---|---|
| Editor | QuickJS | Hot reload + edit-mode preview |
| Windows / macOS / Linux | QuickJS | Bundle embedded as TextAsset |
| iOS | QuickJS | Static linking (JIT-free) |
| Android | QuickJS | Bundle embedded as TextAsset |
| WebGL | Browser JS | Full JIT, native performance |
V2 lives on the onejs-v2 branch and still works on Unity 2022.3+. What changed in V3:
| V2 | V3 | |
|---|---|---|
| UI framework | Preact | React 19 |
| JS engine | PuerTS (QuickJS / V8 / NodeJS) | Purpose-built QuickJS core |
| Setup | Manual UIDocument / PanelSettings | One-click Initialize Project |
| Tailwind | Via PostCSS toolchain | Built in, no npm dependency |
| Preview | Play mode | Edit-mode preview + Play mode |
Full documentation and tutorials: https://onejs.com
AI agents: read AGENTS.md for a condensed, agent-oriented guide to working with OneJS.
MIT